6 minutes read


What you can find in this section
What is visual Impairment?
Visual impairment is the partial or total loss of vision or ability to see or read.
Categories of visual impairment
- Partially sighted (also known as B3): Experience some difficulty seeing or reading. These individuals can benefit from medically recommended lenses. They have less challenges while using their sight for mobility purposes but are mostly affected when it comes to reading. They can also benefit from large print.
- Low vision (also known as B2) – Experience a lot of difficulty seeing or reading. They may have residual or little sight, and/or be able to make it forms and shadows. People with low vision require assistive devices and accommodations to see and read (such as large print or magnifiers.). At some point, they may find it challenging to move during certain hours, especially evenings or nighttime. They are also encouraged to learn Braille because over time, their sight keeps deteriorating and could become totally blind.
- Totally blind (also known as B1) – Inability to see at all. These individuals need non-visual resources, such as Braille or audio, access mobility aids such as a white cane and/or sighted guidance.
It is good to be aware of the distinction between blindness and low vision. People with low vision are still able to use their sight, although this may be limited. They may for example be able to read large print and thus have different inclusion needs than people who are totally blind.
How to refer to someone with a visual impairment
Avoid using
- Invalid
- Blind person/ woman/ man/ girl/ boy
Instead use:
- Person with a visual impairment
- Person who is blind / visually impaired
- Blind / visually impaired
This ‘person-first’ language has received wide acceptance among persons with disabilities and their representative organisations.
There are also many local derogatory names used in communities and at schools to refer to people with visual impairments. Such names affect their self-esteem and personal motivation and should be avoided.
How to create an inclusive learning environment for students with visual impairment
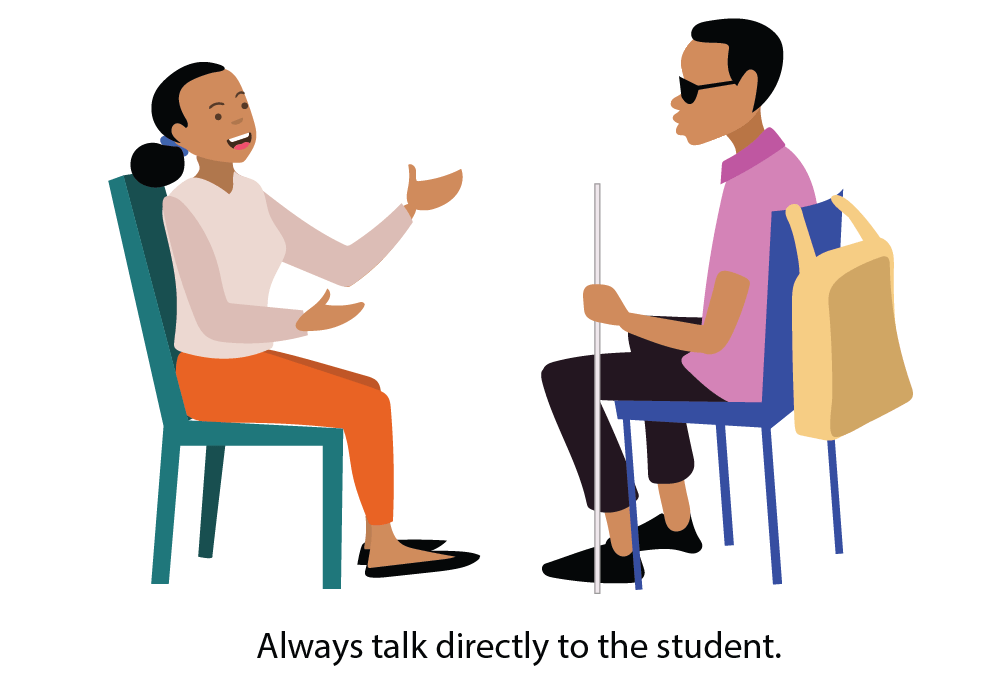
- Always talk directly to the student. Do not use a third person to answer your questions i.e personal assistant/classmate/roommate etc.
- Identify yourself so the student with the visual impairment knows who you are.
- Inform the student with visual impairment if you are moving away. Do not leave without telling him or her that you are leaving.
- Describe the space you are in as well as any things you see to the student with visual impairment.
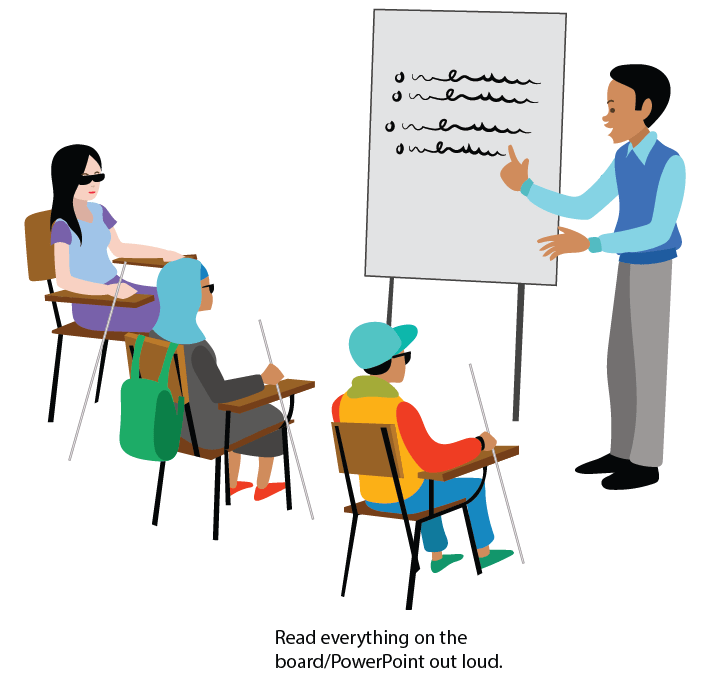
- Use descriptive language and name items instead of saying, ‘this’ or ‘that’. Read everything on the board/PowerPoint out loud.
- When you are in a group/classroom, tell them who is present so that the student with visual impairment knows who is around as this supports networking.
- When you are talking in a group/classroom, use the person’s name when you are directing the conversation to him or her.
- Speak naturally and clearly. There is no need to shout.
- In case there are pictures or other visualisations that are shown, briefly describe what is there, or ask another student to do this.
- Avoid noisy places so that he or she can hear you clearly.
- Always ask first if the student wants help. Do not help someone without asking him or her first.
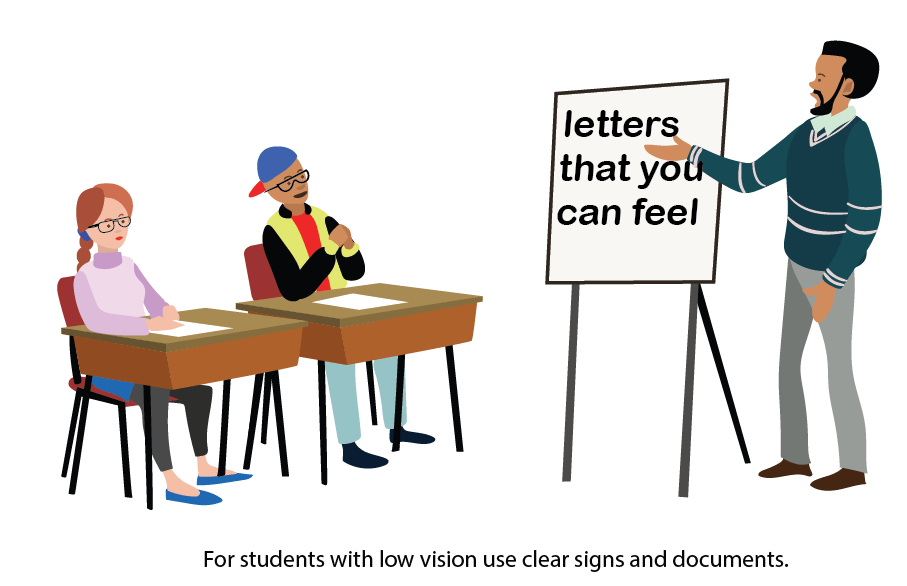
- For students with low vision use clear signs and documents. These can be in large letters or with letters that you can feel.
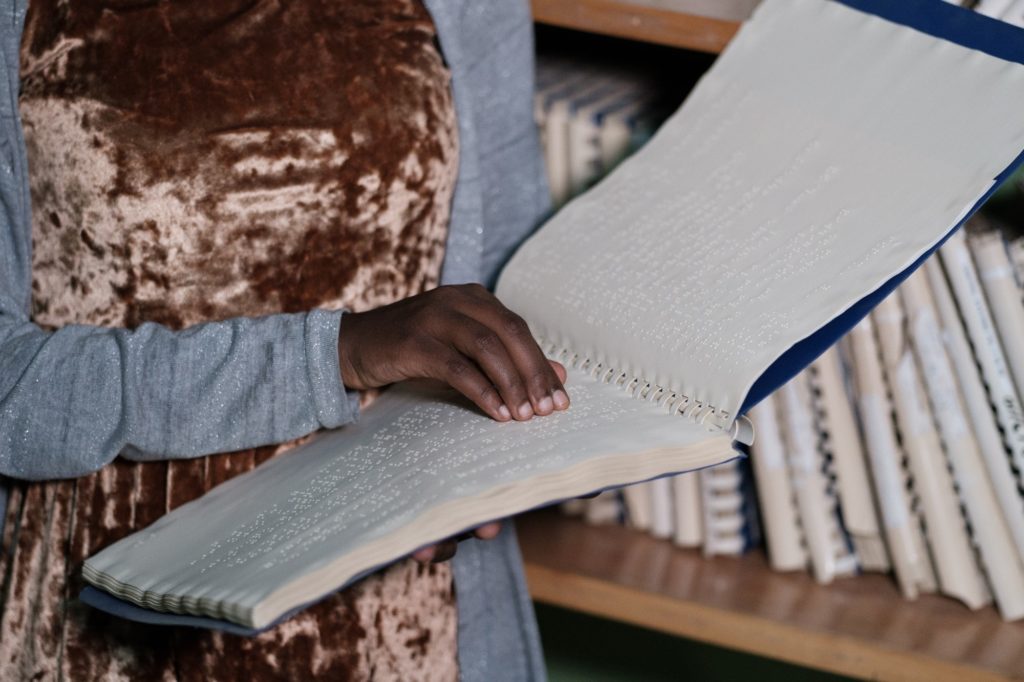
- For students who are blind (B1 level) and can read braille, you can give written information in braille. If a student is using a computer, you can also provide information in digital format/ soft copy.
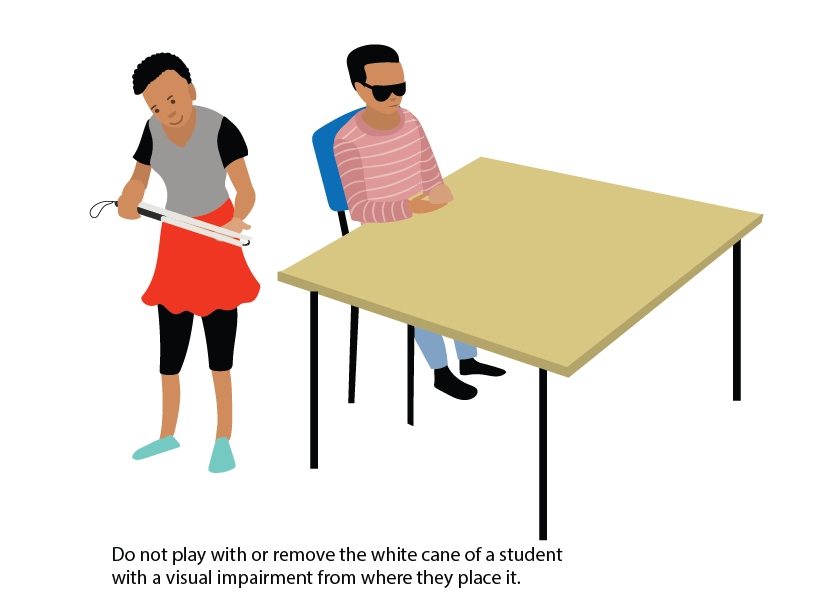
- Do not play with or remove the white cane of a student with a visual impairment from where they place it. If it is unavoidable for you to place the white cane elsewhere, remember to inform the student. They need the white cane for mobility purposes.
How to guide a person who is blind
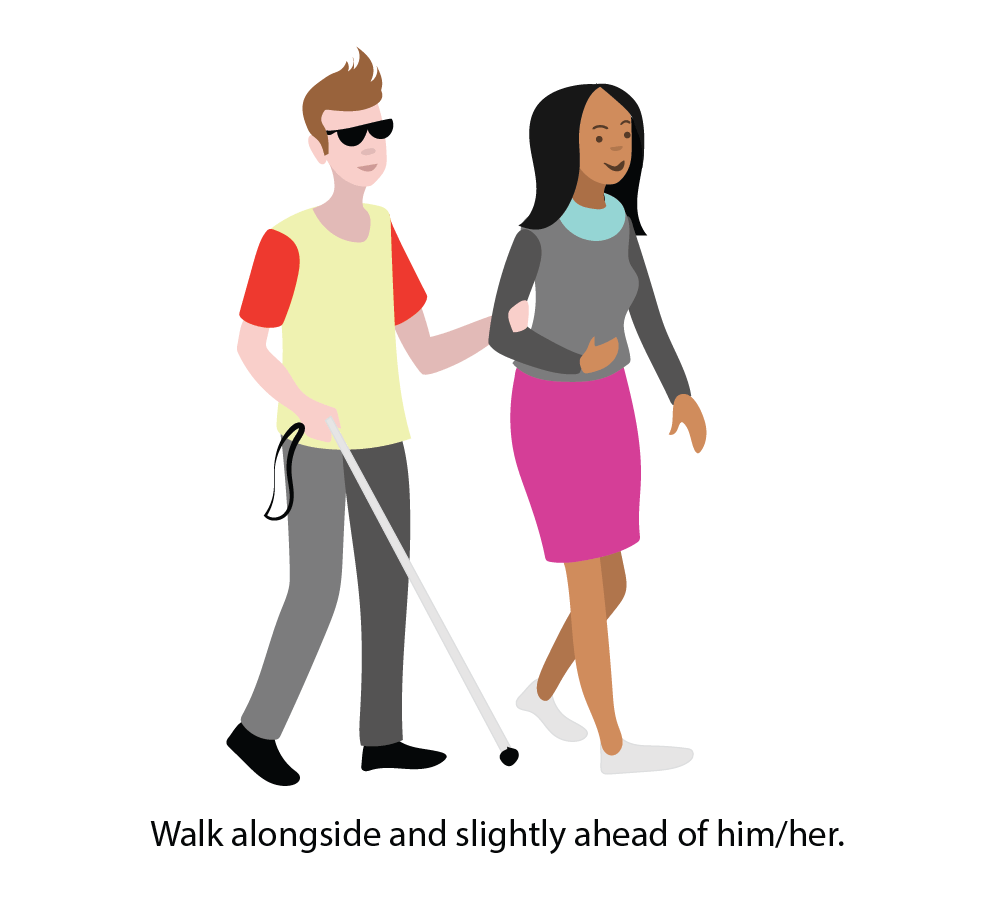
- Walk alongside and slightly ahead of him/her. Do not hold the person’s hand. Allow him/her to hold your arm.
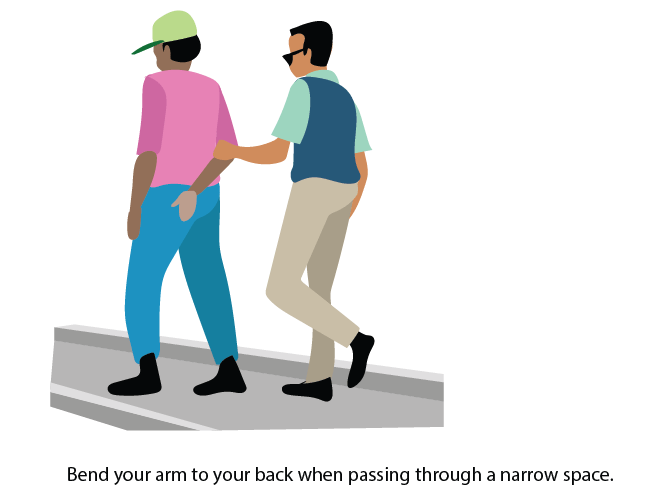
- Bend your arm to your back when passing through a narrow space. S/he will get directly behind you to avoid obstacle
How to seat a person who is blind
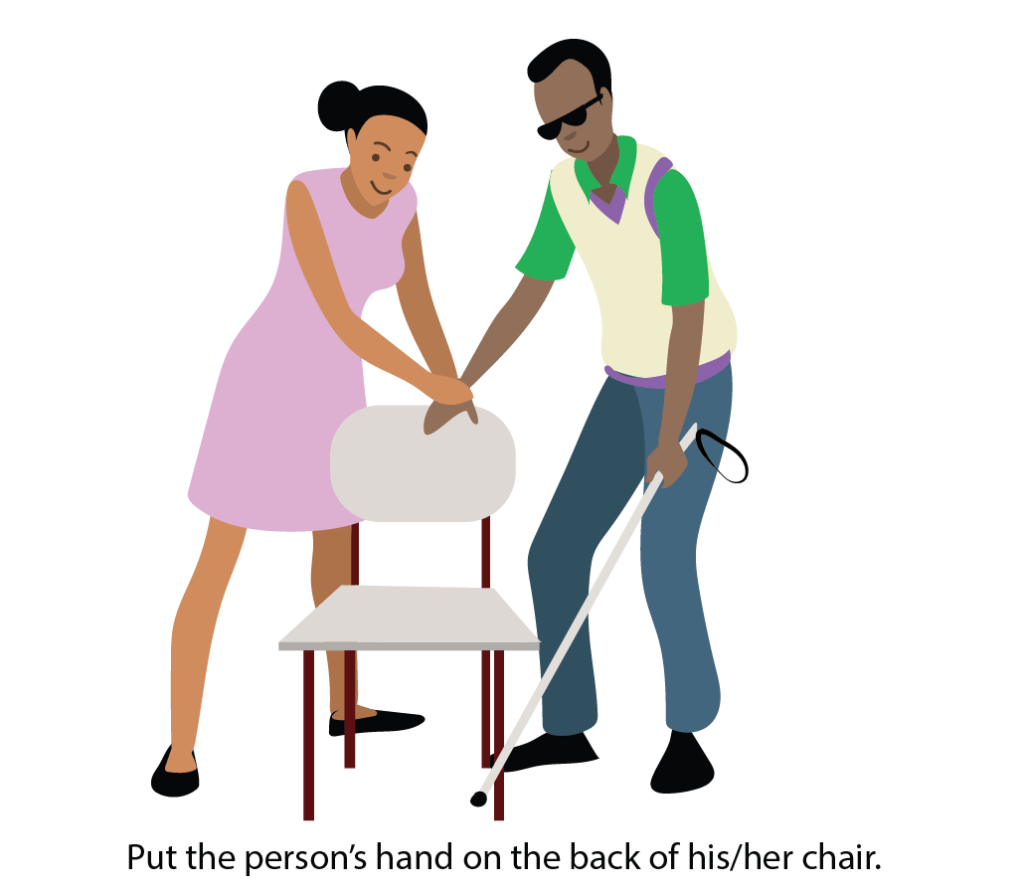
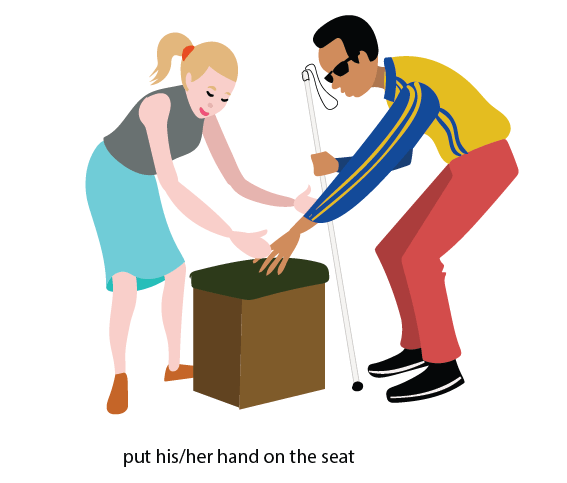
- Put the person’s hand on the back of his/her chair. S/he will be able to sit
- If the chair is backless, put his/her hand on the seat for him/her to be able to sit.
The braille alphabet
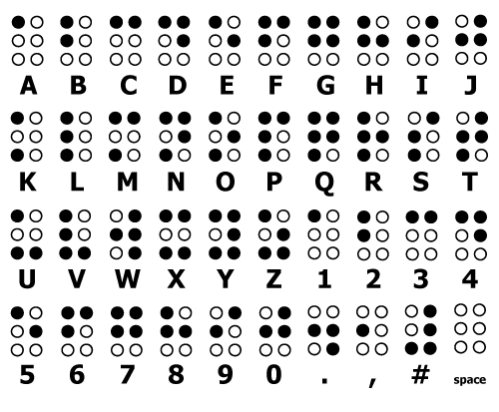
Specific advice on including of students with visual impairments in the classroom/institutions of higher learning
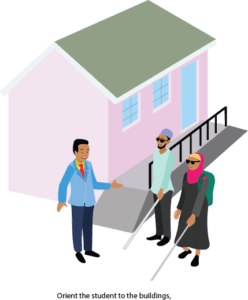
- Orient the student to the buildings, his or her classrooms, and other important rooms such as restrooms, dining areas, administrative offices and his/her halls of residence etc. this can be done by the help of a personal assistant, peers or wardens, among others.
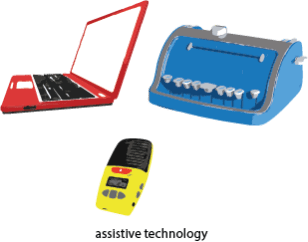
- Determine what types of assistive technology the individual will bring with him or her (e.g., a tape recorder, Perkins Brailler or slate, laptop, etc.).
- Determine how the student with visual impairment prefers to receive and give/send information. Is it in digital/soft copy or large print or braille etc.?
- Determine what modifications need to be made in the physical space the student uses such as obstacle-free corridors, among others.
- Determine if the student can move around independently or what assistance they need.
- Tell the student who he or she may turn to when help is needed. Can be a peer, classmate, roommate, wardens, and any other responsible persons within the university structures.
- Consider bringing in a person with a visual impairment as a resource person during orientation to give practical solutions and serve as a role model to the student with visual impairment who has just joined the university, and this works well during the orientation week.
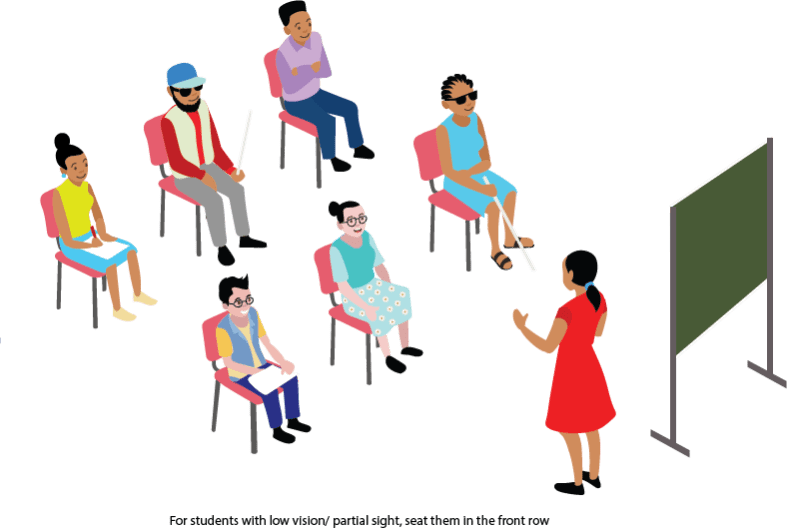
- For students with low vision/ partial sight, seat them in the front row or at a point where they can see the board/PowerPoint and make sure the board/PowerPoint has a good contrast.
- Use descriptive language and name items instead of saying, ‘this’ or ‘that’. Read everything on the board/PowerPoint out loud.
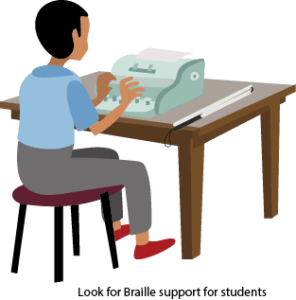
- Look for Braille support for students with visual impairment (B1) or those that cannot cope with print. Consult your institution’s Disability Resource/Support Services/Accessibility center for more support.
- If possible, the peers, personal assistants or even lecturers can pick up interest in learning braille to enhance their support towards persons with visual impairments (B1).
- Putting back material, books etc. at the same place as this will enable students with visual impairments to easily locate them in case of need.
- Make sure students are informed of classroom arrangement changes.
- Ensure the room is quiet. Persons with visual impairments(B1) use listening more and this can only be facilitated by a quiet environment.
- Check the safety of the environment, it has to be free of obstacles and a student with a visual impairment should be able to move around safely and independently.
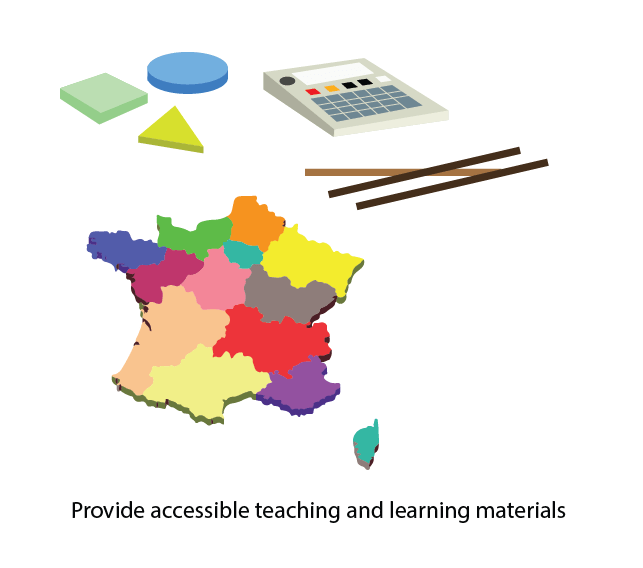
- Provide accessible teaching and learning materials the student can touch and feel (e.g., geometrical forms, maps in wood/3-D print, body parts puzzles, sticks/talking calculators for math etc.). Use real objects.
- Name students you are speaking to so the student with a visual impairment knows who they are.
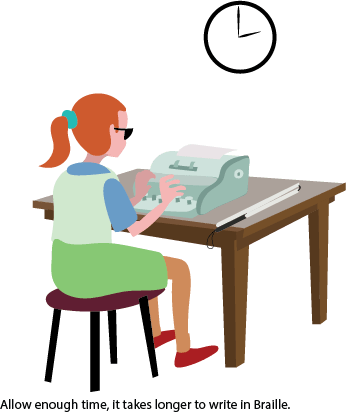
- Allow enough time, it takes longer to write in Braille.
- Give more time for practical exercises and give more opportunity to practice if this is needed.

